How To Install Rain Gutters

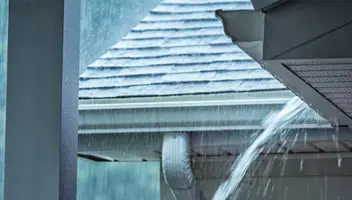
You may not realize it, but rain gutters are incredibly important to the health of your home. Rain gutters and downspouts collect and carry away rainwater, mitigating any potential foundation damage, structural issues, basement flooding, or landscape erosion. Without gutters, you could have some serious water-related issues on your hands!
In this article, we explain how to install rain gutters to protect your home from water related issues.
Planning your Project
You may be saving money by installing rain gutters on your own, but there are a few pitfalls you should be weary of.
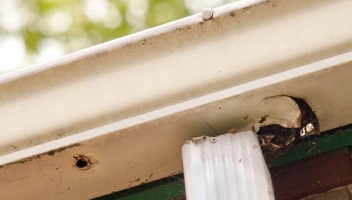
First, inspect the fascia and soffit for signs of rotted wood. This will need to be replaced before you put up the gutters. As your gutters fill with rainwater and collect with debris, the weight of the water will pull your gutters away from your home and can even fall onto the ground, pulling your rotted fascia and soffit along with it. Make repairs to your soffit and fascia if necessary before moving forward.
After you’ve inspected your home, now is the time to record your measured. When deciding how to install rain gutters, record the length of the gutter runs and mark the downspout locations. Then, count up the inside and outside corners and end caps. Measure the height of downspouts and add 4 feet to each for the extension away at the bottom.
Gather Tools and Materials
After measuring and planning, be sure to gather the proper tools and materials:
Tools Needed:
- Cordless Drill
- Crimper
- Extension Ladder
- Tin snips or hacksaw
Materials:
- Gutter
- Downspouts
- Elbows
- Gutter Flashing
- Gutter Sealant
- Gutter hanging strap
- 1/8” rivets
- 1 ¼” self-tapping hex head screws
- 1/3” hex head screws (“zippers”)
Snap Layout Lines
When installing rain gutters, you’ll want to snap a chalk line to ensure the gutters are level.
In order to do this, mark the highest point of the gutter run on the fascia 1 ¼ inches below the metal drip edge flashing.
At the other end of the fascia, mark the low end of the gutter run. Keep in mind that the slope should be approximately ½ inch for every 10 feet of run.
Snap a chalk line between the two points. This will be your reference for the level of the gutter when you go to install rain gutters to your home.

Cut and Join the Gutters
Once you’ve gathered all of your materials and planned your layout, you can now begin to cut the front and back sides of the gutter with tin snips. If you do not have tin snips on hand, you can also use a hacksaw. Once you cut all of your gutters, be sure to smooth out the sharper edges with a file. You’ll also want to ensure you have holes for where your downspouts will be. You can use tin snips to cut the outlet hole for the downspout tubes.
When installing rain gutters, recommend joining sections of the gutter on the ground than to work from the top of the ladder. To do this, cut a 2 inch long notch in the front lip of the gutter with tin snips. This will join together an inside or outside corner piece. Cut a 4 inch long notch to overlap and splice together gutter sections.
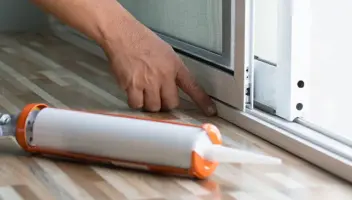
Use gutter sealant along the corner. Hook the front lip of the corner over the notched section of gutter and snap it over the gutter.
Hanging the Rain Gutter
One you’ve cut and adjoined all of your rain gutters, it’s time to install rain gutters to your home. Use the chalk line along your roofline as a frame of reference for the leveling of the gutter. The pitch of your gutters is very important – it actually encourages water to channel away from your home.
When hanging the gutter within the brackets, remember that your brackets should be mounted at least every 18 to 24 inches. Any gutter end caps should be attached to the fascia board, which can be stabilized by drilling screws in.
Use an elbow when applying the downspouts, ensuring that the tubes hug the walls of your home. Apply another elbow at the end of the downspout, and attach some more gutter tubes to divert water away from the foundation of your home. All holes and elbows connecting gutter materials should have sealant applied to them to prevent leaks from occurring.
Protecting your Rain Gutters
Once you’ve installed your rain gutters, ensure they are protected with a micromesh gutter guard like LeafFilter.
LeafFilter installs on your existing gutters and ensures that you never have to clean your gutters again. If you happen to be overwhelmed by the thought of installing rain gutters – no worries! LeafFilter will install completely new seamless gutters at the time of your installation.
As the best gutter guard on the market, we ensure that no debris or clutter of any kind infiltrates your gutters, leaving them clog-free for life. This will also eliminate any potential water-related damage. Learn more about how LeafFilter can protect your home and give you clog-free gutters for life!


